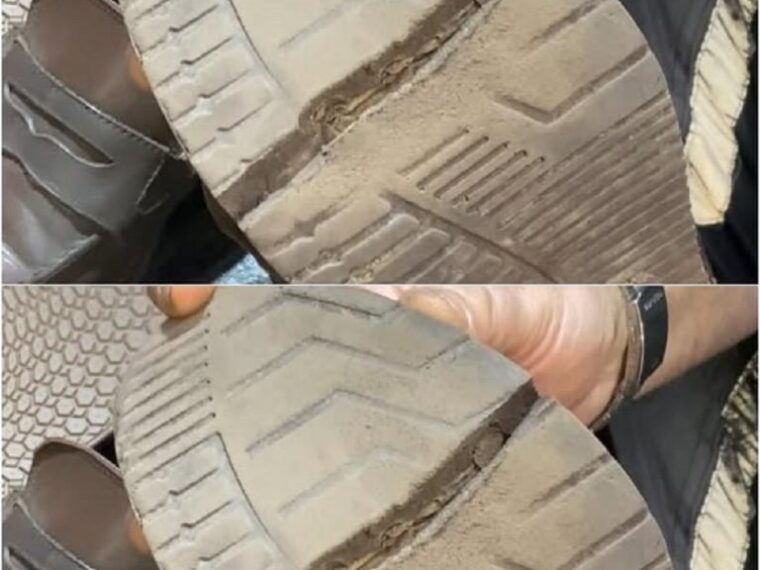
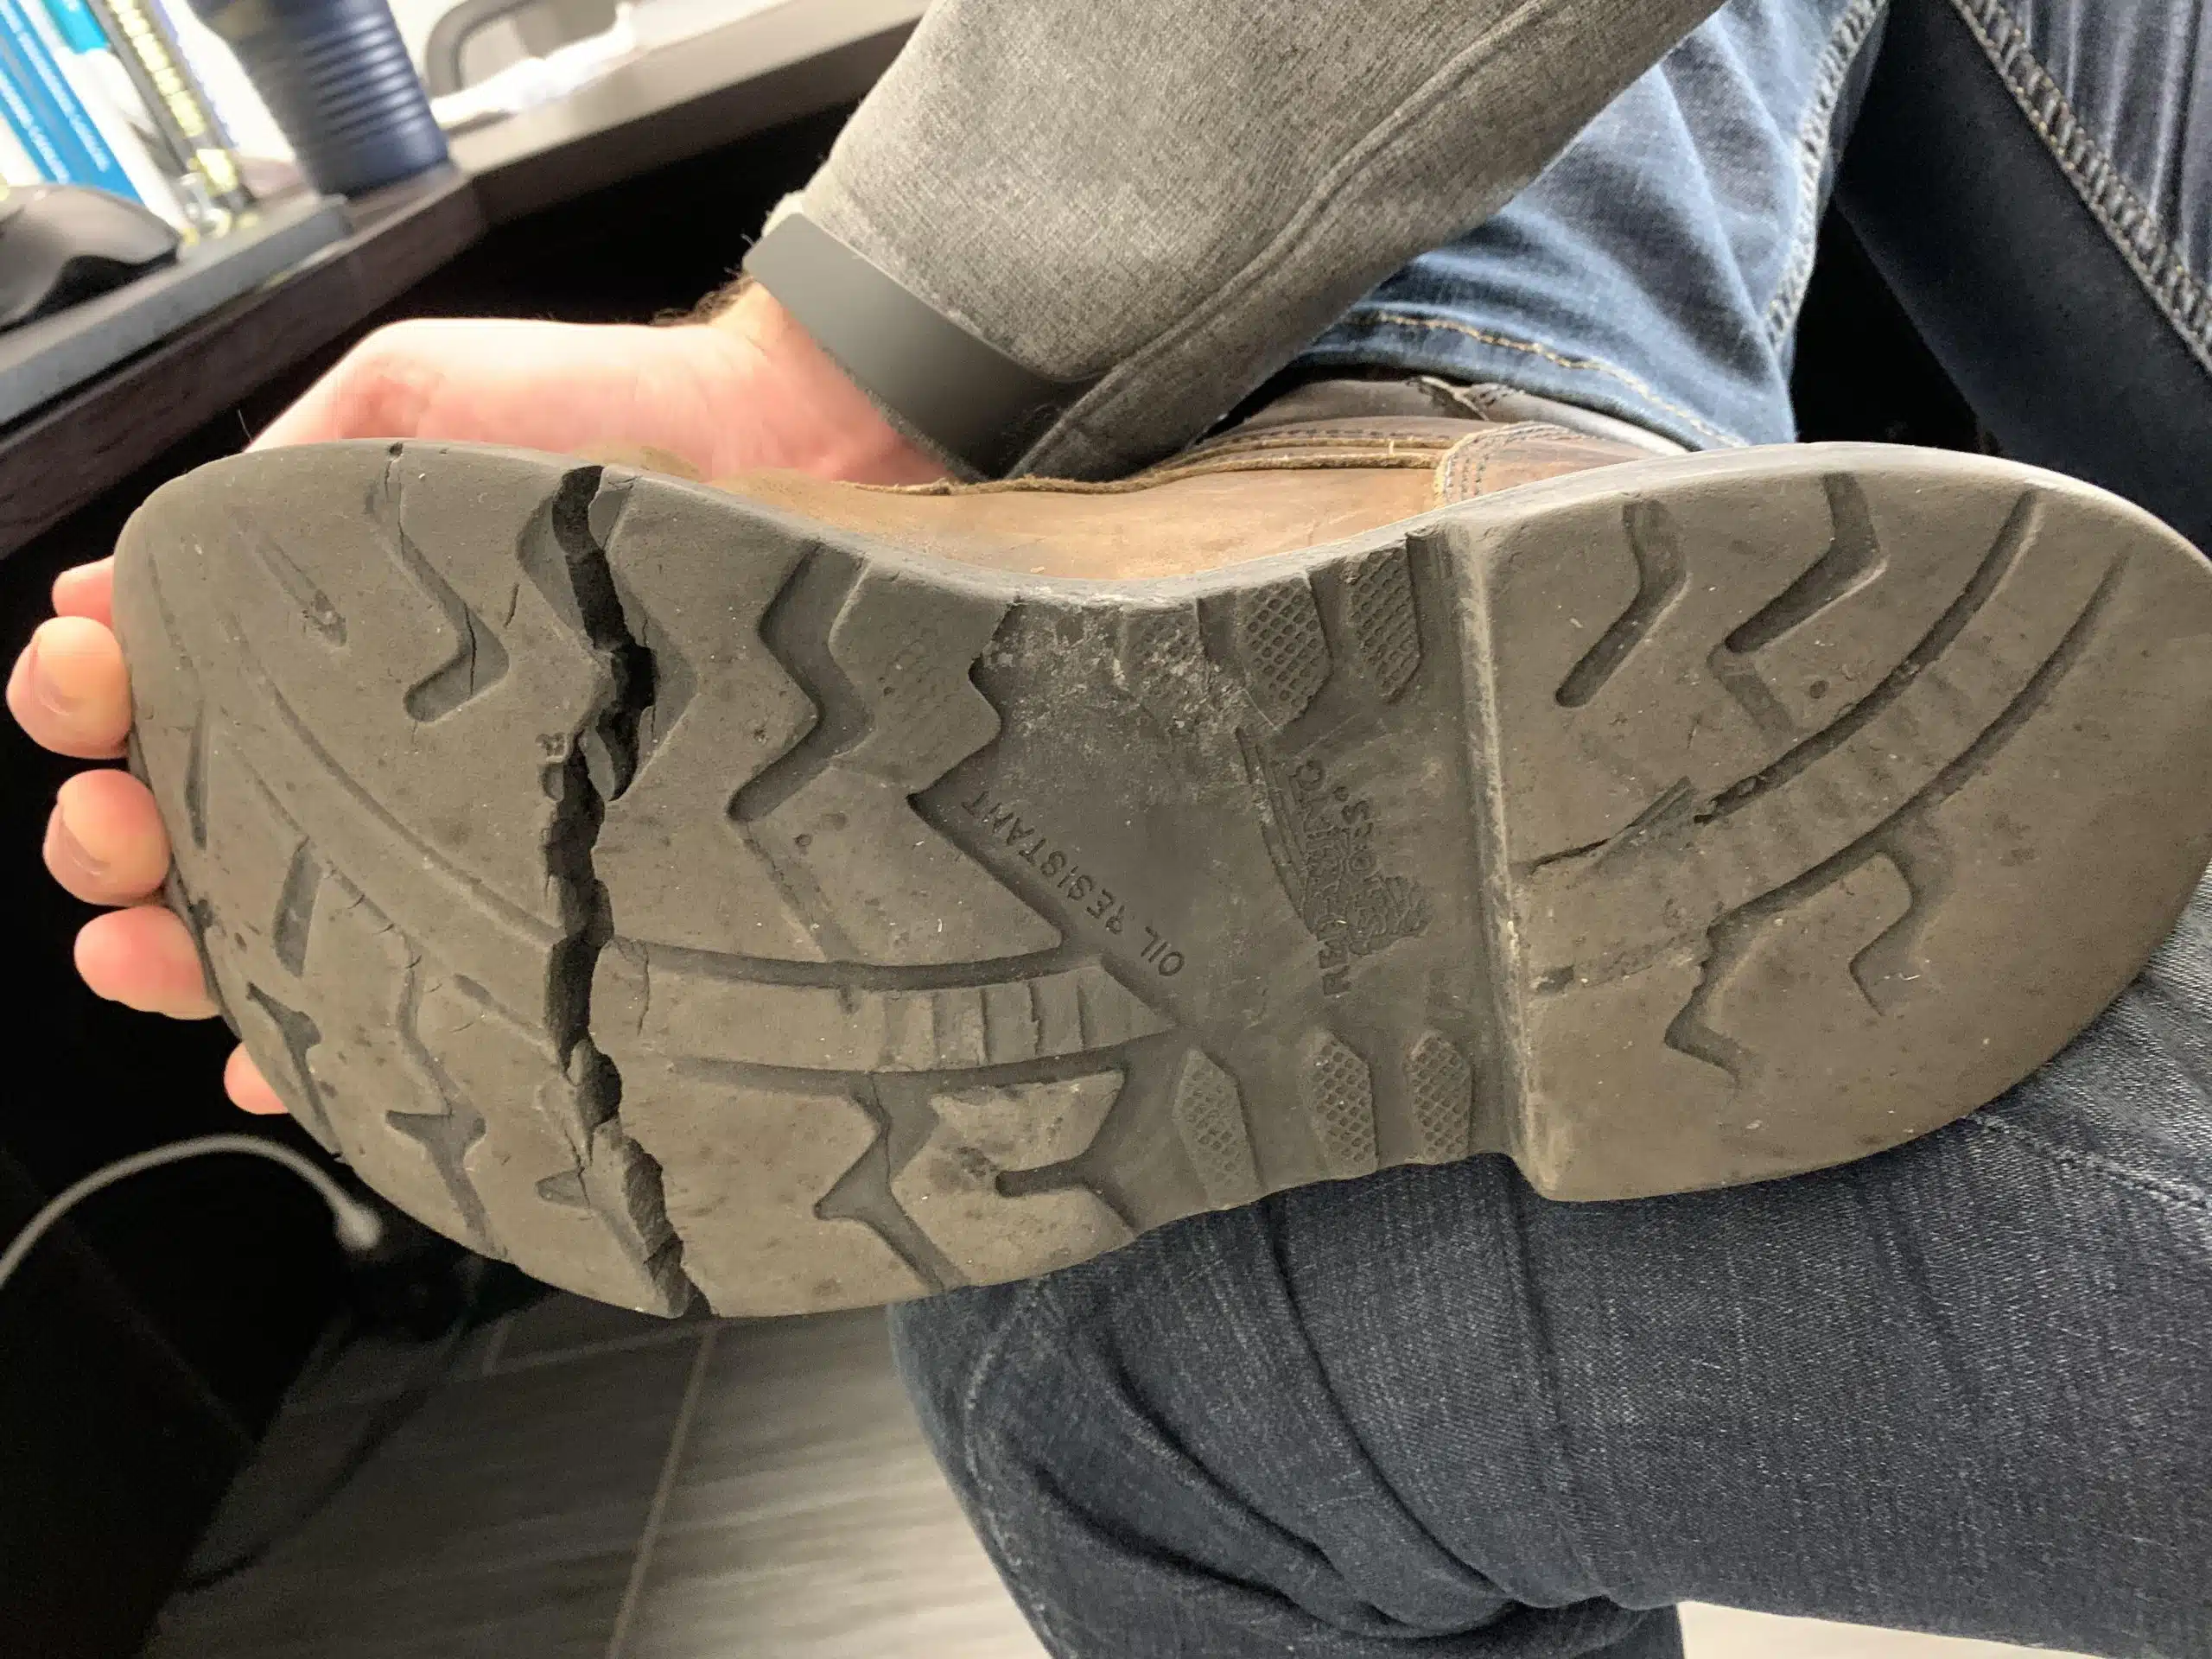
Who hasn’t seen their favorite pair of shoes become unusable due to a cracked sole? We hesitate between paying for an expensive repair at the cobbler’s or resigning ourselves to throwing them away. However, few people know that it’s possible to repair a damaged sole yourself with simple tools and an effective method. Follow these steps and bring your shoes back to life in just a few hours!
Why throw away when you can repair?
Before you think about replacing your shoes, ask yourself this question: why throw them away when there’s a simple solution? Today, we tend to consume quickly and replace them as soon as something looks damaged. However, with a little cleverness and the right equipment, it’s possible to extend the life of your shoes without breaking the bank.
What you need for a lasting repair
You don’t need professional equipment to repair a broken sole! Here’s what you need:
- An extra-strong glue (such as Super Strong 999 or a special shoe glue)
- A rubber sole (to reinforce the shoe)
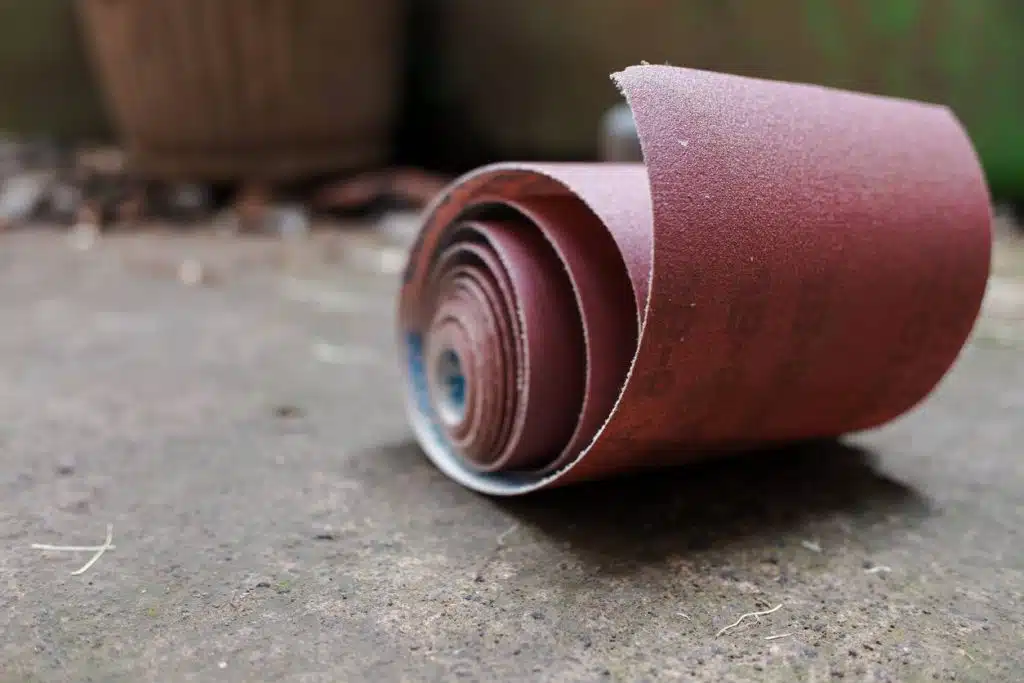
- Sandpaper (to improve adhesion)
- A hair dryer (to optimize the adhesion of the glue)
- A cutter or a pair of scissors (to adjust the sole)
With these few elements, you will be able to carry out an effective and lasting repair, even without any shoemaking experience.
The key steps to gluing a broken sole
1. Glue the split sole
Apply a thin layer of glue to the damaged area, leaving about a 5mm margin from the top edge. Press the sole firmly to ensure it adheres well. The glue works quickly, but let it dry for at least 30 to 40 minutes before moving on to the next step.
2. Prepare the surface
Once the glue is completely dry, lightly sand the sole with sandpaper. This step is essential to ensure better adhesion of the insole. Do the same with the replacement sole before attaching it.
3. Apply the reinforcement sole
Apply a first coat of glue to the sole of the shoe and the insole. Let it dry for 40 minutes, then apply a second coat and wait another 20 minutes.
Then heat the glue slightly with a hair dryer until it reaches a temperature of around 50-60°C. This tip helps optimize the adhesion of the materials.
4. Assemble and finalize the repair
Press the replacement insole firmly onto the shoe and let it sit for at least 4 hours to ensure a secure fit.
Once the glue is completely dry, cut off the excess sole with a cutter and lightly sand the edges for a clean, discreet finish.
Your shoes are ready for several years!
With this simple and accessible method, you can extend the lifespan of your shoes while avoiding unnecessary expense. No need to throw away your favorite pairs! This at-home repair is an economical and environmentally friendly alternative to shoe repair services.
The next time a sole cracks, you’ll know what to do. So, are you ready to bring your shoes back to life?